Guide:
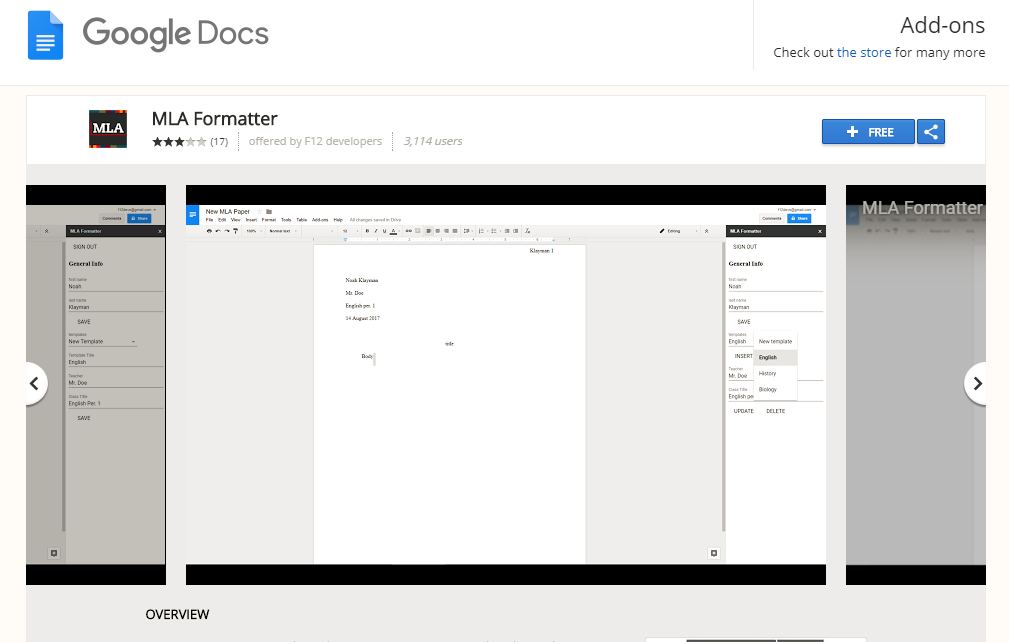
What is MLA Formatter?
MLA Formatter is a Google Docs add-on that adds functionality to instantly format your document to MLA Standards. It allows you to create templates which can then be inserted into your document, also adjusting font settings.
Installation:
To install MLA Formatter, click here while on your computer or laptop (or Chromebook), and click the "+ FREE" button.
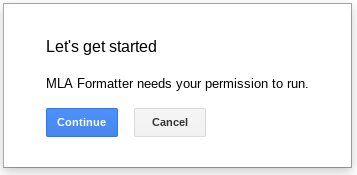
Next, click continue on the pop-up menu:
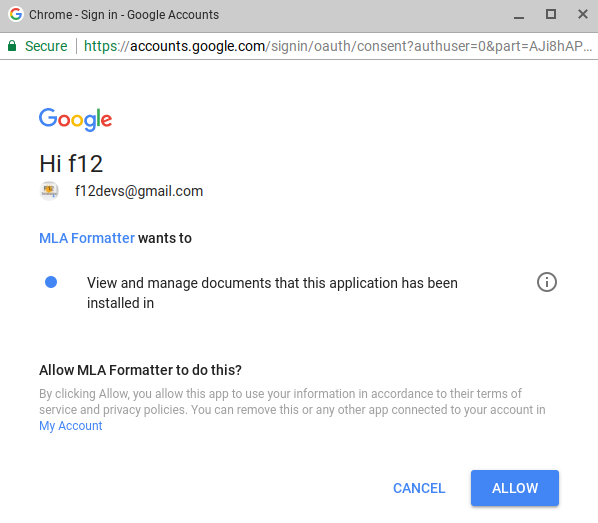
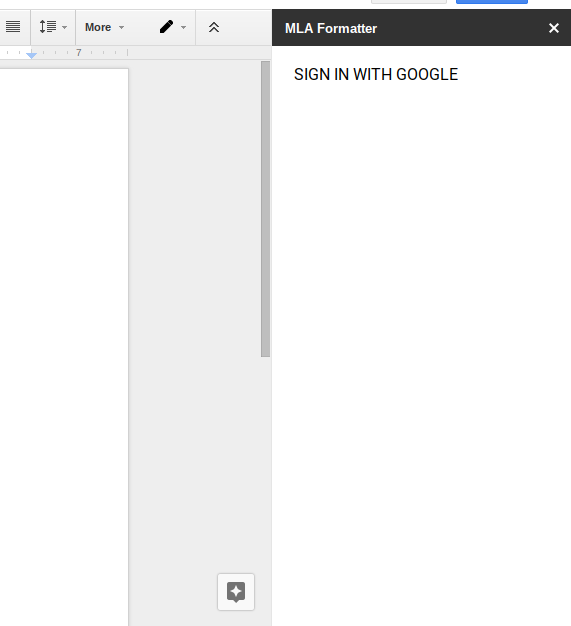
Then, a new page will load, prompting you to sign in:

Select the account you would like to install MLA Formatter on, and click allow. This allows MLA Formatter to insert templates into your document.
Now, you can use MLA Formatter! Continue reading to learn how to setup and use MLA Formatter.
First Time Use/Setup:
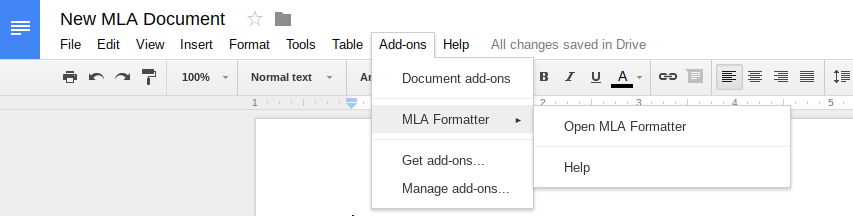
Open MLA Formatter
Once installed, you can use MLA Formatter by clicking the add-ons menu on the toolbar of any Google document. Then select MLA Formatter, and click Open MLA Formatter
Then, a sidebar will open prompting you to sign in with your Google account.
Click sign in, and follow the on-screen instructions to sign in. This will allow your information to be synced across devices. After signing in, the sidebar will show some options.
Set Your Info
Next, type in your actual name where it says "your name", And click save.
Create a Template
Now, you can create a template. To create a template, click the New Template button.
Then, a dialog will appear, asking you to input some information.
Fill in the text fields:
Template Title- The name of the template- ie English. This doesn’t affect what gets inserted.
Teacher-the teacher of your class- ie Mr. Doe.
Class title- the full title of your class that is inserted into the heading- ie Adv. English Per. 1
Once you’ve put in your information, click Create. You can now select it from the template list.
Congrats, you’re ready to use MLA Formatter! From now on, just open it from the add-ons menu, and click the name of your template from the templates list. To create another template, just click Create a New Template. You can create as many templates as you want. To edit templates, click the edit button next to the name of the template you want to edit, change any information you want, and click update. To delete a template, select the edit button and click delete.
FAQ:
All my templates are gone, how do I get them back?
This is because MLA Formatter has switched to a new method of storing user data. To get your settings back, open MLA Formatter and click the import button at the top right. Follow the on-screen instructions to finish importing your settings. If the import fails, try it again. If it continues to fail, contact me at the email listed below.
My template won’t insert, what do I do?
First, double check your templates info. Then, try closing and re-opening MLA Formatter. If it still doesn't work, close and re-open your document. If nothing works, please contact me at the email listed below.
I deleted my template, but it’s still there. How do I get rid of it?
Try closing and re-opening MLA Formatter. If it is still there, click delete again. If that doesn’t work, contact me at the email listed below.
Contact:
Email: contact@f12devs.com
You can send an email anytime, and I will do my best to respond in a timely manner. Please do not leave a bad review just because you are having technical difficulties. You can also send ideas for MLA Formatter to this address.